I still can't believe that summer is more than half-way over. My To-Do list is still extremely long, and practically nothing has been accomplished. Where is the time going!??!
One of the little projects I've been wanting to work on lately is a driveway ramp which will allow me to move the in-work cars (which generally don't have functioning engines or transmissions or drive train mechanisms) out onto the driveway so that I can use the garage to do the actual work (i.e. welding, drilling, cutting, etc.).
The driveway has a roughly 13-to-1 slope (1 inch vertical drop for every 13 inches horizontal distance) which worked out to be a single 2x4 thickness every 20 inches, so I designed a simple set of wooden ramps built out of my favorite building material.
The design uses 3 standard 96" 2x4s laid side-by-side for each wheel track, with stacked layers of diminishing length underneath:
1st layer (top): 96" length
2nd layer: 76" length
3rd layer: 56" length
4th layer: 36" length
5th layer: 16" length
Total height = 5 x 1.5" = 7.5"
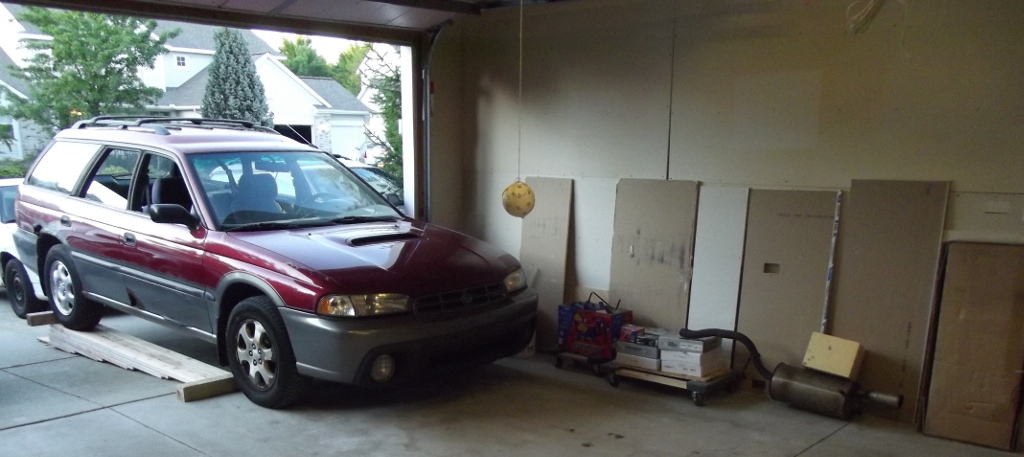
The main purpose of the ramp (or "rails" as I like to call it) is to allow me to move Serenity out of the 3rd bay so I can get my power tools moved out of the basement, but there's too much junk piled all around the car right now, so I'm testing the ramp design with Ruby, who is currently sitting in the 2nd bay.
First thing was to make sure Ruby can actually roll along the cement. I've, um, "borrowed" a few parts off of her in order to keep some of the other cars in working order, so certain things are missing. But for today's purpose, she seems to roll OK. Not perfect, but OK.
 |
| Ruby waits for a chance to go outside |
 |
| Ruby's Rails, showing the slope |
 |
| Ruby's Rails, showing the Stacks and Cross-Ties |
 |
| Ruby's Rails, with Center Sections in Place |
 |
| Ruby Heading Outside |
Ruby finally got to the end of the ramp without any difficulty; the big test was to find out how easily it would be to move her back and forth along the ramp. Any kind of incline was going to make it very difficult, as she is a very heavy car.
But, surprise of surprises, the early calculations paid off, and she moved very easily back off the ramp and into the garage again!
 |
| This is as far as it goes ... so far |
 |
| When We're Done, the Rails are Tucked Underneath |
 |
| At the End of the Day, Everything Put Away! |
2 comments:
where there is a will, there is a way!!
Where there is a Rob, there is a Ramp.
Post a Comment